I often work from our school library because of its reliable WiFi. However, some tasks—like accessing cloud services or lab computers remotely—remain out of reach. While I used to rely on Mullvad VPN, I wondered: why pay for a VPN when I have a Raspberry Pi lying around? So, I set up my own VPN server on my Raspberry Pi.
The process was based on this article with some adjustments.
Requirements
- Raspberry Pi 3 or newer
- A router with Port Forwarding capability
- An internet accessible IP address
Installation
In this case, I will use Raspberry Pi OS (64-bit), but you can use any other OS. The easiest way is to use Pi Imager to flash the OS to your SD card.
You can download the former if you want to set Raspberry Pi up with a monitor, a keyboard and a mouse; or the latter, if you want to set it up “headlessly”.
Headless Setup
Find out the IP address of your Raspberry Pi by checking your router’s DHCP client list. Then, SSH into your Raspberry Pi using the following command:
ssh pi@<your_raspberry_pi_ip>After that, update and upgrade your Raspberry Pi:
sudo apt update && sudo apt upgrade -y

# Reboot after upgrade
sudo reboot
Setting up dynamic DNS
Now that all of the preparations are finished, we need to get ourselves a dynamic DNS hostname. Unless you’re using a business broadband connection, your external IP address most likely changes dynamically every time your ISP feels like it. For that reason, we’ll need to set up a dynamic DNS service. For this tutorial I’ll be using a free plan from freedns.afraid.org . That being said, you can use any service you want, I’m not endorsing any particular one.
After registering on the website and activating your account via email, click on the “Add a subdomain”. Here, the things we need to change are:
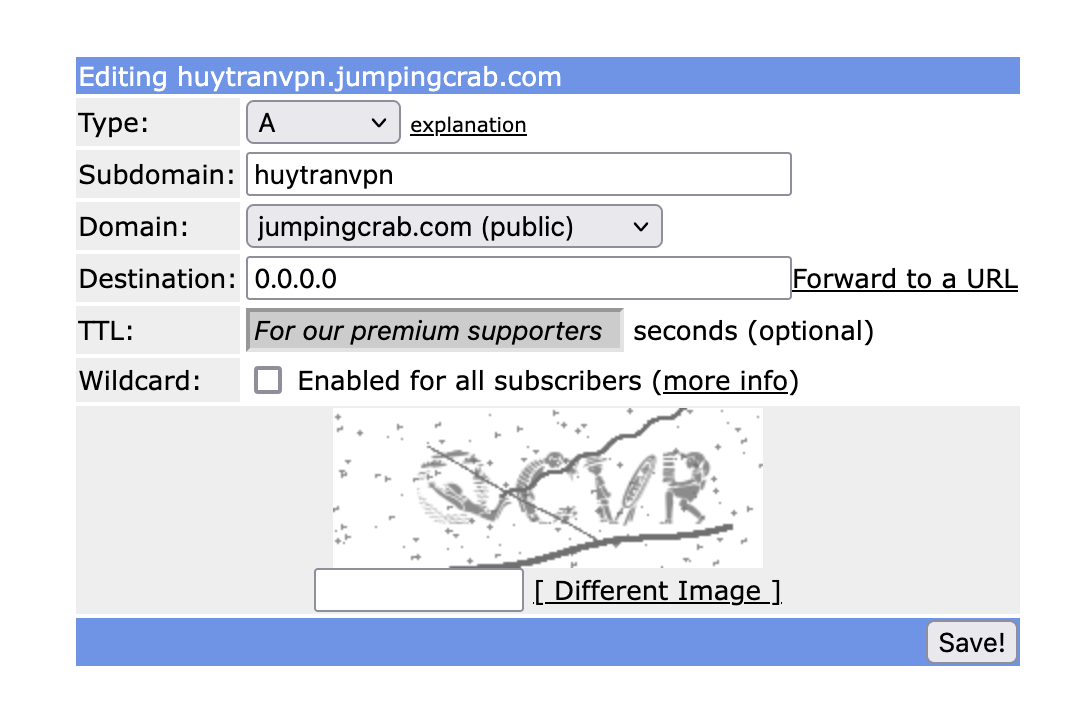
- Type: A for IPv4
- Subdomain: Choose a subdomain you like
- Domain: Select a domain from the dropdown
- Destination: 0.0.0.0 (This will be changed automatically afterwards if the dynamic DNS service is working)
Installing and configuring ddclient
Now we need to install a piece of software called ddclient:
sudo apt install ddclientThe application will ask you to input some information regarding your dynamic DNS service. Just ignore them all and press enter. We’ll configure it manually.
Now we need to tell ddclient which address it needs to update:
sudo nvim /etc/ddclient.confLet’s just delete all of the lines in the file and replace them with this:
daemon=5m
timeout=10
syslog=no # log update msgs to syslog
#mail=root # mail all msgs to root
#mail-failure=root # mail failed update msgs to root
pid=/var/run/ddclient.pid # record PID in file.
ssl=yes # use ssl-support. Works with
# ssl-library

use=if, if=eth0 # CHANGE THIS TO use=web, web=ifconfig.me/ip if you're having issues
server=freedns.afraid.org
protocol=freedns
login=YOUR FREEDNS LOGIN # CHANGE THIS
password=YOUR FREEDNS PASSWORD # CHANGE THIS
your.freedns.domain # CHANGE THIS
This is where I got stuck for a while. My Raspberry Pi interface did not show public IP address of my network. Instead, it showed the local IP address. I had to change use=if, if=eth0 to use=web, web=ifconfig.me/ip to get the public IP address.
Warning
There was some problems with the length of password, long password somehow caused the
ddclientnot able to authenticate. I had to change my password to a shorter and simpler one. The problem is being discussed here.
Another file requires editing is /etc/default/ddclient. Open it with your favorite text editor and change to:
# Set to "true" if ddclient should be run every time DHCP client ('dhclient'
# from package isc-dhcp-client) updates the systems IP address.
run_dhclient="false"

# Set to "true" if ddclient should be run every time a new ppp connection is
# established. This might be useful, if you are using dial-on-demand.
run_ipup="false"

# Set the time interval between the updates of the dynamic DNS name in seconds.
# This option only takes effect if the ddclient runs in daemon mode.
daemon_interval="5m"

run_daemon="true"
Don’t forget to save all of the changes, now we can restart the ddclient service:
sudo systemctl restart ddclient
# Also enable it on boot
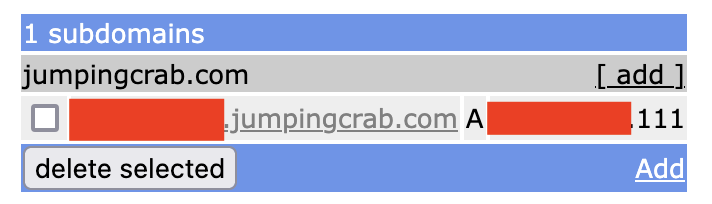
sudo systemctl enable ddclientIf everything is set up correctly, you should see the IP address of your network on the dynamic DNS service.
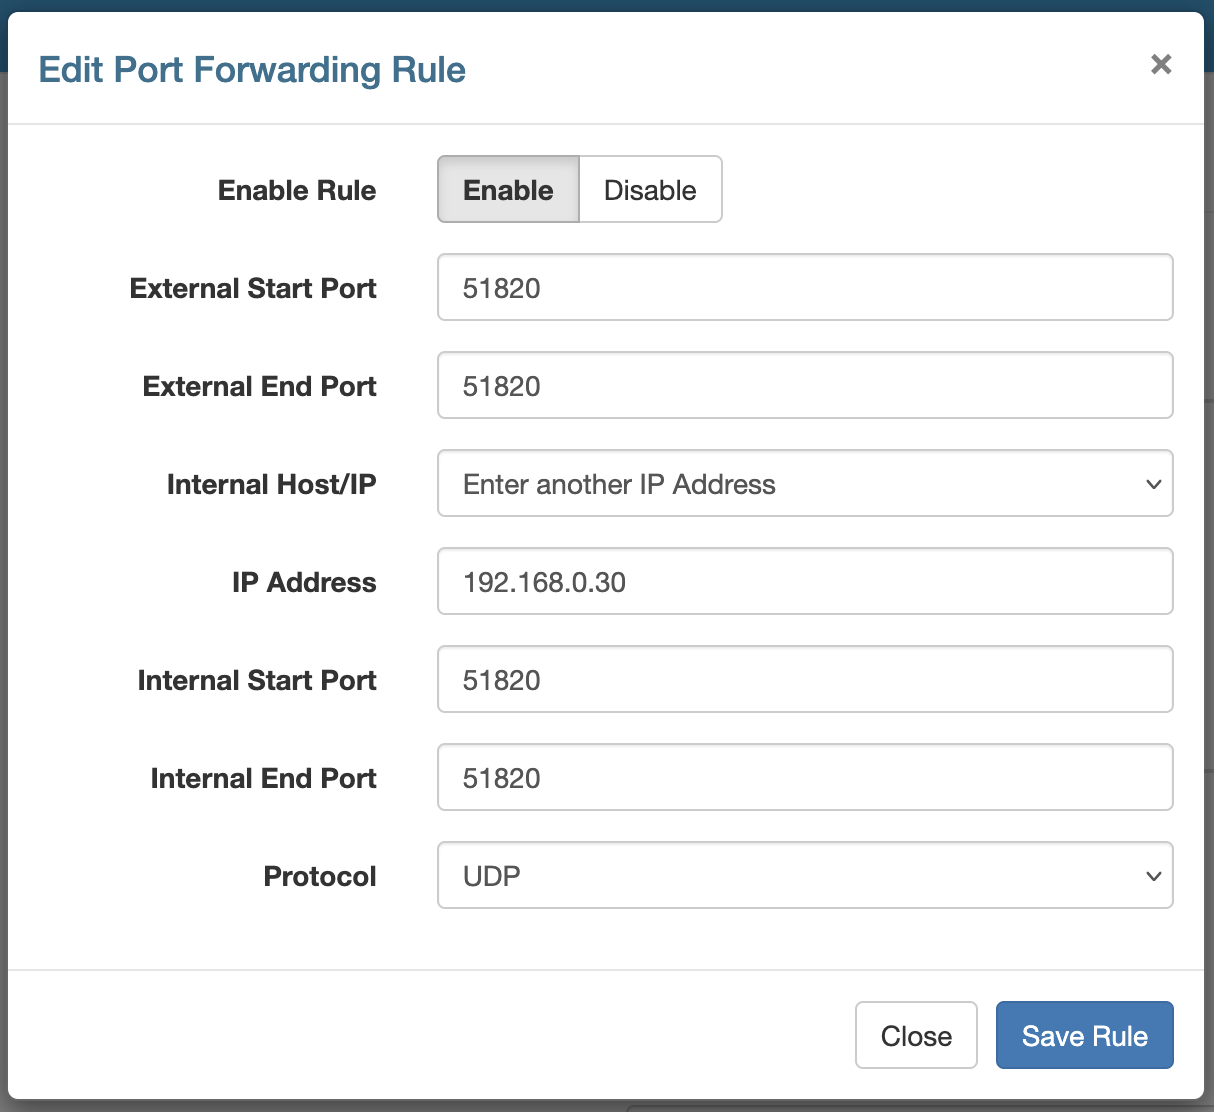
Port Forwarding
Now we need to forward the VPN port to our Raspberry Pi. This is done in your router settings. The port we need to forward is 51820. The process is different for every router, so you’ll have to look up how to do it for your specific router.
On my technicolor CGA2121 router, the setting can be found under Home Network → Application & Gaming → Port Range Forwarding:
Installing WireGuard
Use this super convenient script to install WireGuard:
wget https://git.io/wireguard -O wireguard-install.sh && bash wireguard-install.shThe script is going to ask you for the hostname that you want to use for the VPN – type your dynamic DNS domain that we created earlier.
For client name, just put any name you want, and for DNS, this is kind of personal preference – I personally use 1.1.1.1
Follow the instructions on the screen further and wait until the installation is finished.
Important: You will need to add a new user for every device that you use with the VPN. To add a new user, simply re-run the script and follow the instructions.
Connecting to the VPN
For Phone
Once the script finishes, you will see a QR code. You can scan this QR code with the WireGuard app on your phone. The app is available on both iOS and Android.
For Computer
If you want to connect to the VPN from your computer, you can use the WireGuard client. You can download it from the official website.
For my MacOS, just install straight from the App Store.
Once you have the client installed, copy the configuration file from Raspberry Pi at /root/<YOUR_CLIENT_NAME>.conf to your computer. Then, import the configuration file to the client.
Conclusion
In summary, with just a few steps you can leverage a Raspberry Pi to build a cost-effective VPN solution. Remember that your VPN’s performance will depend on your home network’s speed, and always consider security best practices. If you have questions or run into issues, feel free to reach out to me.