Below is a step‐by‐step guide to deploy Etherpad and Postgres setup on Azure so that Etherpad is accessible publicly. In this guide, we’ll use the Azure CLI to create a Linux VM, install Docker and Docker Compose, deploy your docker‑compose file, and then open the required network port. You can follow these steps:
1. Create an Azure Resource Group
Create a new resource group (replace “myResourceGroup” and “eastus” with your preferred names/region):
az group create --name myResourceGroup --location eastus
2. Create an Ubuntu Virtual Machine
Create a VM that will host your containers. This command creates an Ubuntu VM, generates SSH keys, and assigns a public IP:
az vm create \
  --resource-group myResourceGroup \
  --name myDockerVM \
  --image UbuntuLTS \
  --admin-username azureuser \
  --generate-ssh-keys
3. Open Port 9001 for Public Access
Since your docker‑compose maps Etherpad’s port to 9001, open that port on the VM so it is accessible from the Internet:
az vm open-port --resource-group myResourceGroup --name myDockerVM --port 9001
This updates the VM’s network security group to allow inbound traffic on port 9001.
4. SSH into the VM and Install Docker & Docker Compose
SSH into your VM using its public IP (replace <public-ip> with the actual IP provided by the previous command):
ssh azureuser@<public-ip>
Once logged in, update the package lists and install Docker and Docker Compose
sudo apt-get updatesudo apt-get install -y docker.io docker-compose# Post installationsudo groupadd dockersudo usermod -aG docker $USER# Either reboot the machine or run:newgrp docker
Verify the installation:
docker --versiondocker-compose --version
5. Transfer or Create Your docker‑compose.yml File on the VM
You have two options here:
Option A: Create the file directly on the VM
Open an editor (e.g., nano or vim) and paste the contents:
Option B: Use SCP to copy the file from your local machine
On the local machine, run:
scp docker-compose.yml azureuser@<public-ip>:~/
6. Deploy the Containers Using Docker Compose
From the directory where your docker-compose.yml is located, run:
sudo docker-compose up -d
This command downloads the required images, creates the containers (including the persistent volumes), and starts the services in detached mode.
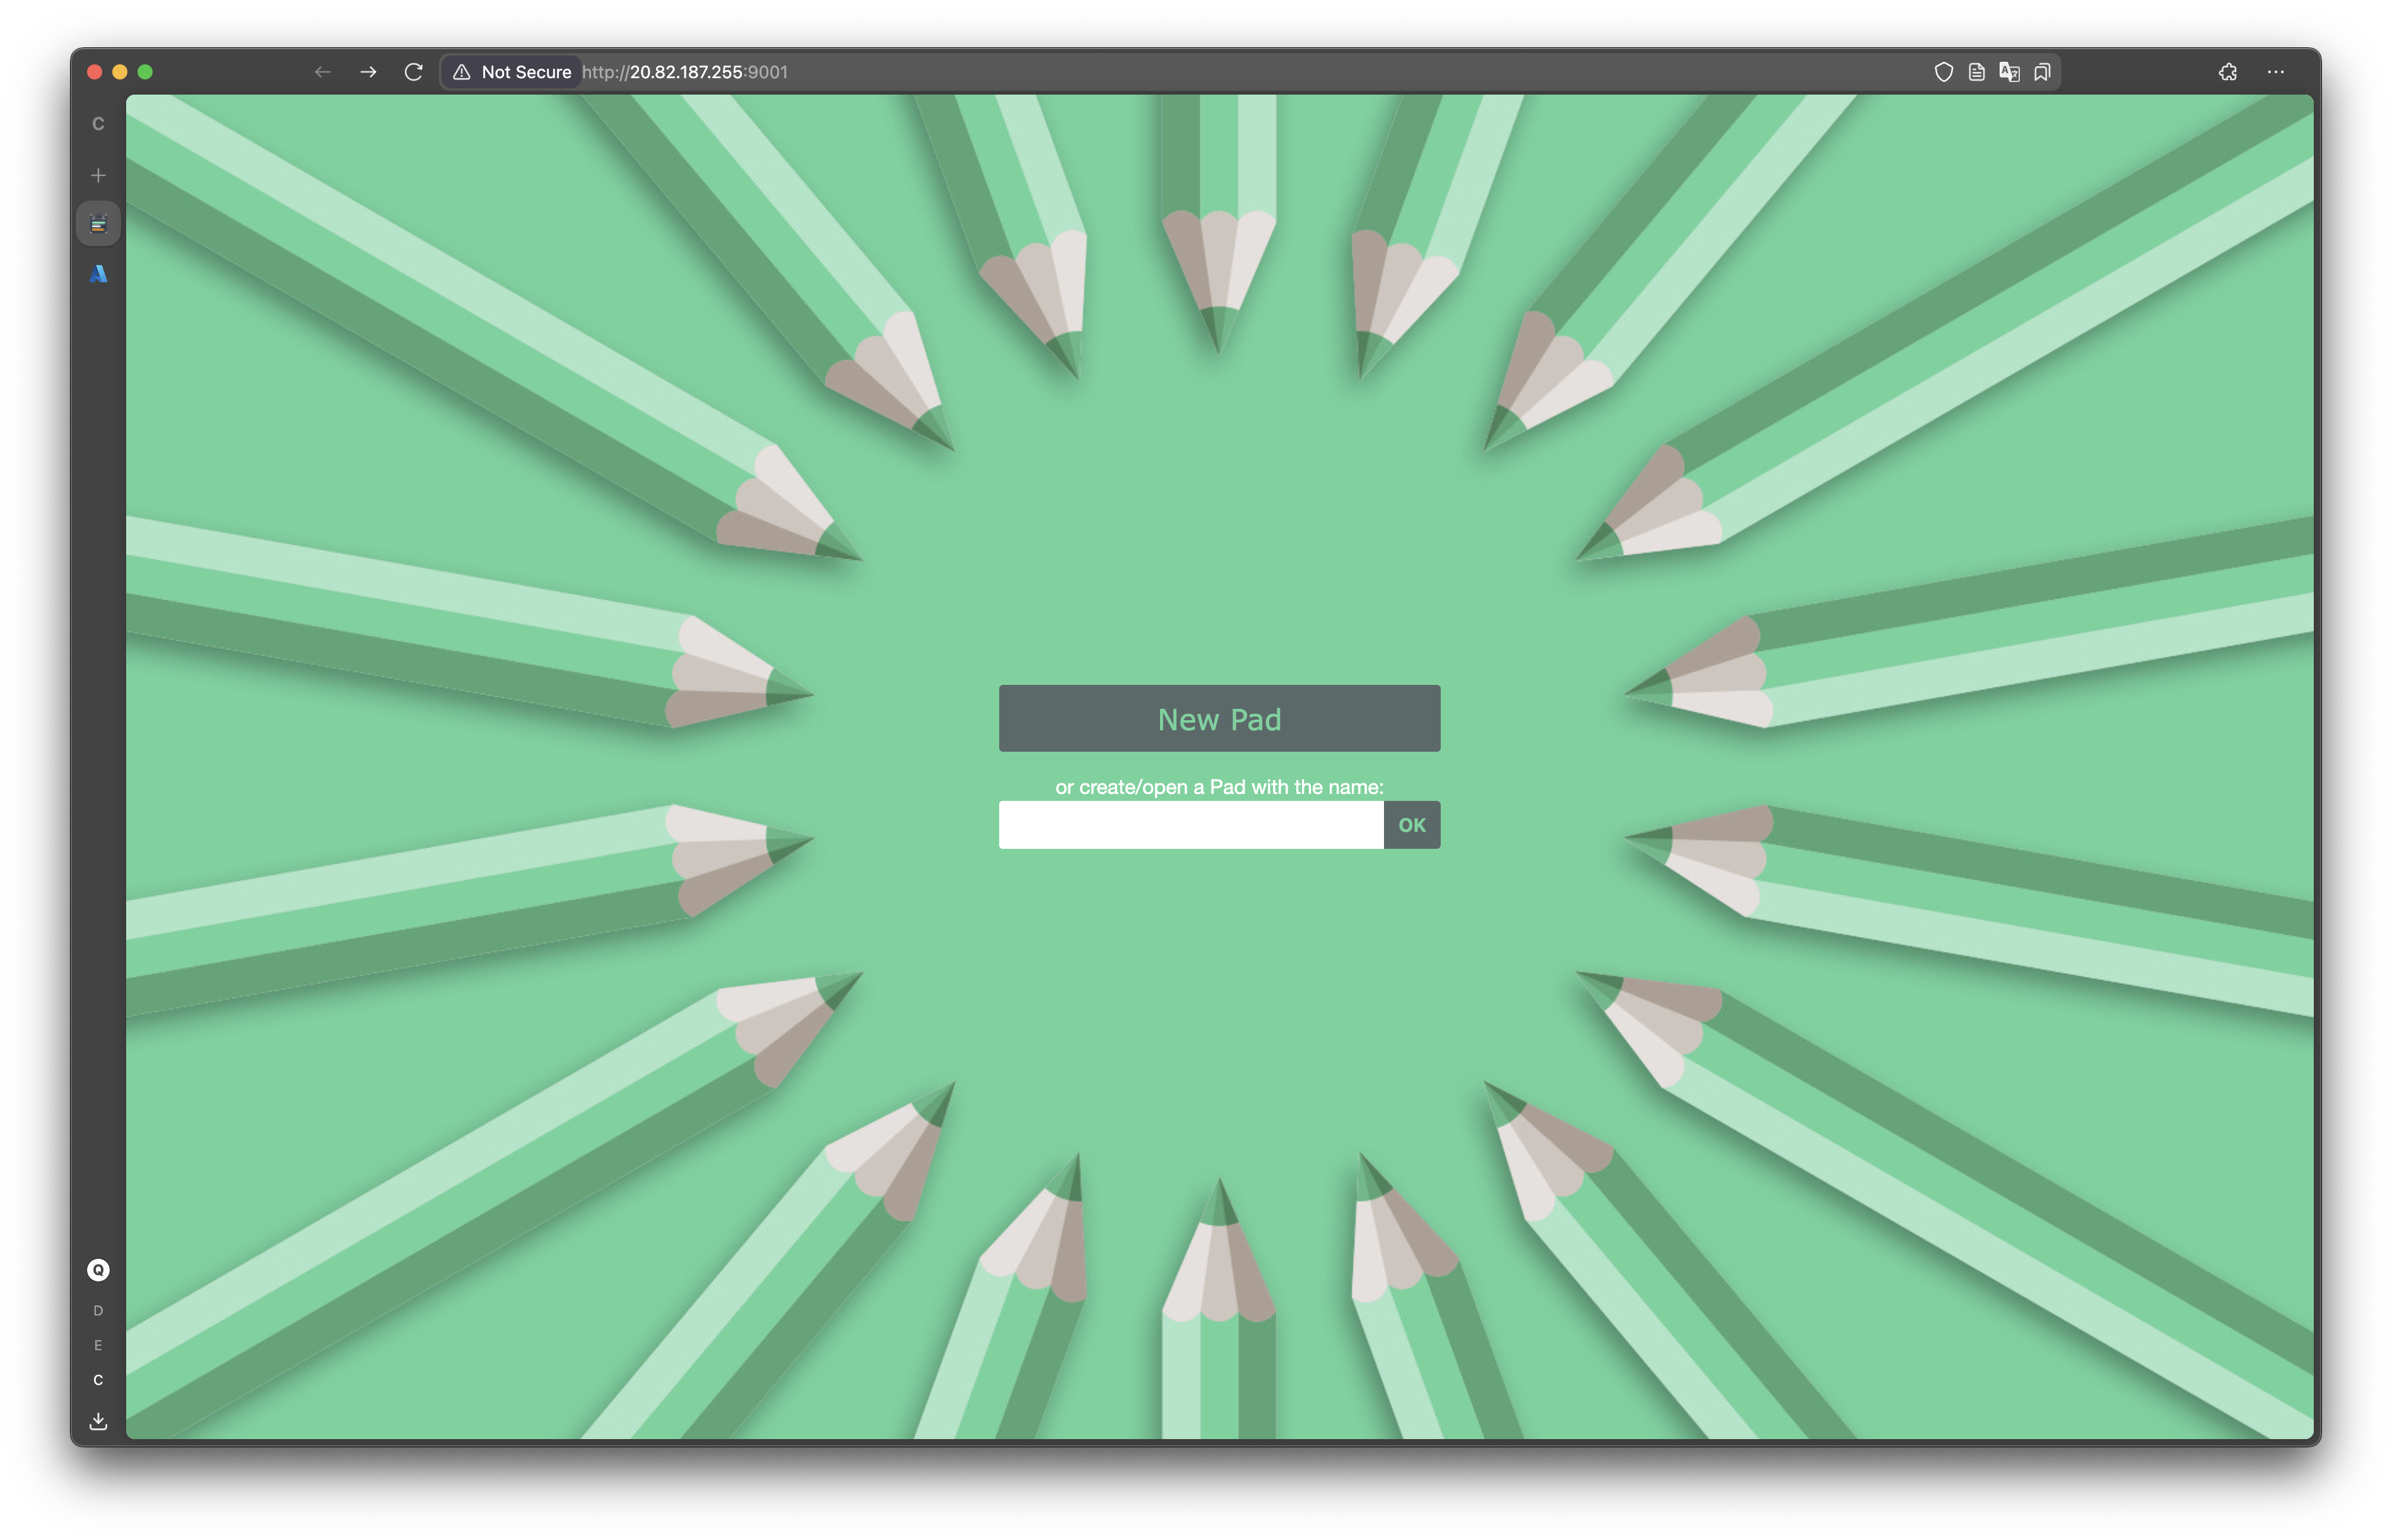
7. Verify Public Access to Etherpad
Open a browser and navigate to:
http://<public-ip>:9001
You should see the Etherpad interface. If you encounter issues, double-check that the VM’s firewall settings and NSG rules allow traffic on port 9001.
Additional Considerations
The application will not be able to access through XAMK network, likely due to the firewall. So in case you want to check the application out, please use your own Mobile network or personal WiFi.